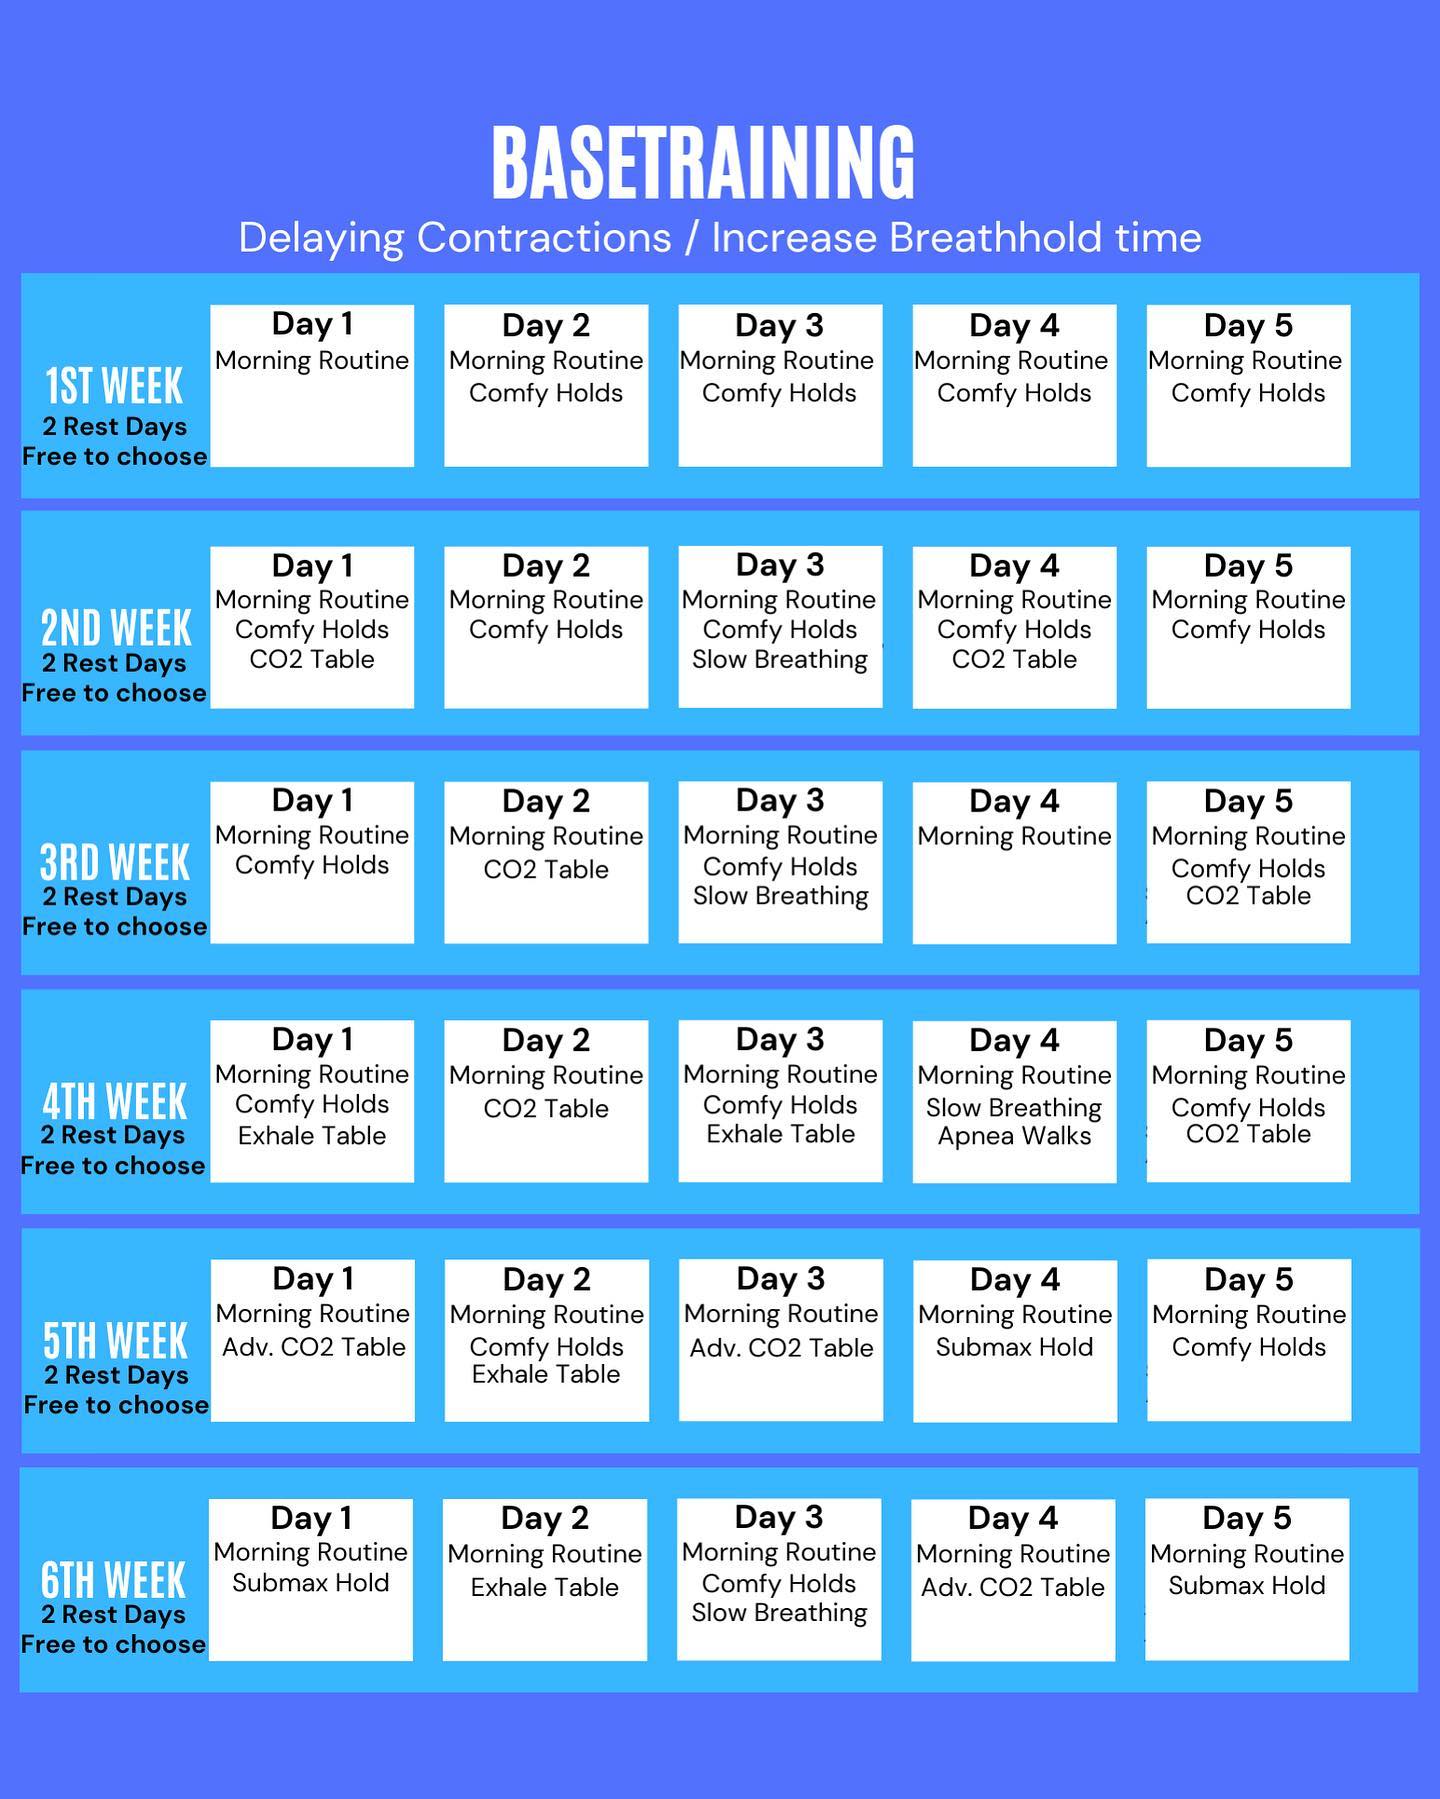
Below, you can find a base training program created by Philipp (@breathholddiary) for STAmina users and apnea enthusiasts. The program is designed to help you increase your breath-holding time from 2-3 minutes to a solid 5-6 minutes. We recommend this plan for those who have mastered proper breathing, basic relaxation techniques, know when they are experiencing the first contraction, and are confident enough to take their skills to the next level. Please note that some of the exercises (like apnea walks, exhale tables) are potentially more dangerous than others. You should always be aware of the risks, have a buddy, and properly organize your safety.
The program is divided into 6 weeks with 5 training days in each week. We recommend maintaining a strict schedule of workdays and rest days. In the videos below, Philipp uses intervals suitable for his level. All exercises listed in the program are meant to be adjusted to your level. If you need any help doing that, send us a message.
Below, you can find a detailed explanation of each exercise with a video and Philipp's comments.
Week 1 - A / Morning Routine
Morning Routine
This video depicts my stretching routine. I start with Kapalbhati to warm up my diaphragm and clean my sinuses. Often, while doing it, I also move my jaw around, as this triggers some facial muscles that might be beneficial for equalization. I do 3x 30-60 in-/exhales depending on how I feel on that day. After that, I do 4-10x uddiyana bandha. The forced exhale is a good exercise to strengthen the muscle, while the subsequent suck should increase flexibility of it. Hereafter, I do 2 minutes of maximum inhales into the 3 sections of my stomach. First, I use the diaphragm to inhale deep into the stomach. Second, I use the lower intercostal muscles mainly focused on the sides to breathe deeply into the middle section of my stomach, and lastly, I use the upper intercostal muscles in connection with muscles located in the neck and collarbone area to breathe deeply into the upper chest. This should strengthen and increase the efficiency of the final breath. Finally, I do some full lung stretches, lasting between 30 seconds and 60 seconds. In the long run, these should increase flexibility of the intercostal muscles and allow the rib cage to expand a bit more, thereby allowing more air intake.
Week 1 - B / Comfy Holds
Comfy Holds
I was taught this exercise during my advanced freediver course at Apnea Total. It should help to delay contractions for freedivers on beginner or advanced levels. The prerequisite is that one can hold the breath until contractions arise. If a beginner cannot yet hold until then because of too high of an urge to breathe, he or she should first get more comfortable with breath holding in general. With this method, I reliably delayed my contractions from about 2 minutes to 3 minutes within one month, and after a break, even to 3:45 minutes (all with tidal breath-up). First, I do a benchmark hold until the first contraction and add 15 seconds to it. After that, I did comfy holds 4-6 times a week in the mornings. I took 3-minute breaks between the holds. The goal is to hold until the benchmark time without contractions; once this is achieved, 15 seconds are added. If again this time can be held for 4 times without contractions, another 15 seconds is added. It could look like this: Mon: 2-1-0-0; Tue: 1-1-1-0; Wed: 0-0-0-0 - Fri: add 15 sec. The main goal during these holds is to establish and get used to relaxation techniques without having the “fear” of enduring many contractions.
Week 2 - A / CO2 Table
CO2 Table
This CO2 Table is a slight variation of the classic CO2 table, modified in that regard; the first break is rather short, which leads to a quicker CO2 build-up during the following holds. To keep the table rather relaxing, the break times are increased until the third hold. Usually, this is the time when the MDR has kicked in, the body is more relaxed, and the holds tend to be more relaxing. As I not only want to train my physiological capacities to tolerate increased CO2 but also my mental relaxation techniques, I reduce break times after the 3rd hold. This keeps the CO2 levels high, and the holds stay just along the edge of becoming uncomfortable. The duration of my hold times is between 40%-50% of my PB. Break times are 40/50/60/55/50/45/40 seconds. To me, this has been a nice balance between relaxed and challenging holds.
Week 2 - B / Slow breathing
Slow Breathing
For me, this exercise was quite hard at first, and I very much disliked it. However, after a few repetitions, I started to enjoy it, and it had a calming effect. I started with 30-second inhales and 30-second exhales and 5 repetitions. Later on, I extended to 10 repetitions and increased the breathing cycles second by second, once it felt comfortable. This exercise helped me control my breathing, especially regarding diaphragm breathing and intercostal muscle activation. Furthermore, it should increase CO2 tolerance as the exhaled CO2 should be lower than the accumulation.
Week 3 / Mind Journey
Mind Journey
Staying relaxed and distracted during a long breath hold, to me, is the most challenging part. Often my thoughts start circling around contractions, the urge to breathe, and the time I’m already holding. There are various meditation, relaxation, and visualization techniques one can apply. This mental journey worked quite well for me up until about 6 minutes. After making sure I’m physically relaxed, I start the journey. It’s important to pick one that doesn’t require any creative processes to make up. This journey of mine is already ingrained in my brain, and it doesn’t take any capacity to imagine it. Simple clues of everyday actions help me stay on the path and return to it once the mind wanders off. I allow myself to be distracted by happy thoughts, but once they fade or in the case negative thoughts arise, I gently return to the next clue and proceed with my journey, imagining it in detail and at a slow pace. Once the urge to breathe becomes stronger and stronger, the journey speeds up, and I try to stay on the path and slow it down until the effort to do so would exceed the mental struggle of just purely fighting. At this point, in my opinion, a buddy that motivates and distracts is important and helps me to squeeze out a few more seconds.
Week 4 - A / Exhale Table
Exhale Table
To perform the exhale table, I breathe normally for 2:00 minutes, then take a big final breath and forcefully exhale the air out of my lungs. I do this for 8 rounds and increase the holding time each round while the rest time stays the same (2:05 minutes). Often the first two iterations feel relatively uncomfortable, but then the mammalian dive reflex kicks in, and the next 4 iterations should feel quite comfortable. The last two iterations should be close to the edge of having to abandon the holds, which should trigger a good adaptation of our body to withstand low levels of oxygen and make our body cells more efficient in conserving oxygen during breath holding. For this table, it’s okay to experiment a bit with breathing patterns; I often did 7:7 breathing in the beginning (7 seconds inhale / 7 seconds exhale) but have switched to longer breaths (6:12), which makes the holds feel a bit less comfortable but should result in longer hold times without hypoxia. To me, performing exhale tables was a game changer. After having done a few of these, I felt much calmer during breath holds than I did before, and this not only for longer holds but for shorter ones as well. It might have to do with the realization that I can hold my breath comfortably even though the oxygen saturation in my blood is below 80%, which might have given me unconsciously more confidence. That being said, the measurements of most oximeters become unreliable when the oxygen saturation drops too low (mostly around 70%), and peripheral vasoconstriction also might have an impact on the accuracy of the measurements. Nevertheless, after 7 months of tracking my oxygen saturation during exhale holds, I see a consistent pattern, which is beneficial.
Week 4 - B / Apnea Walks
Apnea Walks
An Apnea Walk is a great way to increase CO2 tolerance without having to spend a lot of time with long breath holds. While walking, the body produces CO2 rather quickly, and the urge to breathe comes early. At the same time, O2 saturation declines, which also makes this exercise somewhat useful to train for hypoxic tolerance. I usually do 3 sets with a 3-minute break in between. Starting in a relaxed seated or standing position, I take a big final breath without packing. Then I slowly walk on a certain route on breath hold, which is easy to repeat. To have a reference and track one’s own progress, either the time walked, the steps walked, or the distance walked can be measured. I prefer the distance walked in combination with the time. The Apnea Walk should last until the urge to breathe becomes very strong and should definitely be stopped as soon as (best before) a hypoxic feeling arises. To perform the Apnea Walks, some safety measures are advisable. It’s preferable to walk with a buddy who makes sure to prevent falling down if a blackout occurs. If the Walk is performed alone, walking on soft ground is preferable, and making sure that no hard objects are nearby.
Week 5 - A / Advanced CO2 Table
Advanced CO2 Table
This table is more challenging than the ordinary CO2 table. The hold times are relatively short, but the breaks are even shorter, which leads to a quick buildup in CO2. To perform this table, I do a 3-minute breath-up of deep and slow nose breaths. Completely shallow breathing is more favorable but makes the holds a bit more uncomfortable, in my opinion. I choose a holding time that is a bit above 30% of my max. In this case, I chose 2:15 minutes as a demonstration. The breaks in between should be very short, just good enough for one to maximum 3 breaths. The breaths during the breaks should be deep and slow to not increase HR too much and maintain overall relaxation. I usually perform 8 sets, but for the start, 5 sets are also okay. I really like doing this table as it is time-efficient and prepares me to withstand longer times of contractions.
Week 5 - B / Submax Holds
Submax Holds
After having done all exercises in the last 5 weeks, your body and mind should now be ready for long holds. Everything you did prepared you for this, and now the hunt for pleasant long breath holds and maybe new PBs can start. This is the final video and wraps up all exercises we have encountered. For the submax attempt, I use 3 empty lung holds as a Breath-up before doing the long hold. I use slow, deep nose breathing for the Breath-up (8 seconds in - 10 seconds out) for 3 minutes before exhaling strongly and holding the breath until the urge to breathe becomes unbearable (3 sets). This should trigger the mammalian dive reflex enough to help for a nice long hold. After the warm-ups, I take 4 minutes of deep, long nose breathing to prepare myself for the long hold. For the long hold, I take a big final breath and pack a bit. Then I do a body scan before going on my mind journey. As I don't have a buddy with me who could announce the times, I check my watch when I'm fighting; this helps me hold a bit longer.
As always, feel free to reach out to us if you have any questions or suggestions. Stay safe!
Hey apnea enthusiasts and professionals! Our world is about to enter the new year 2024. I’d like to thank all of you for staying with us! There is a growing trend among mobile applications and services to have a year in review for users so each one could know what music did he listen to, how many … >>>
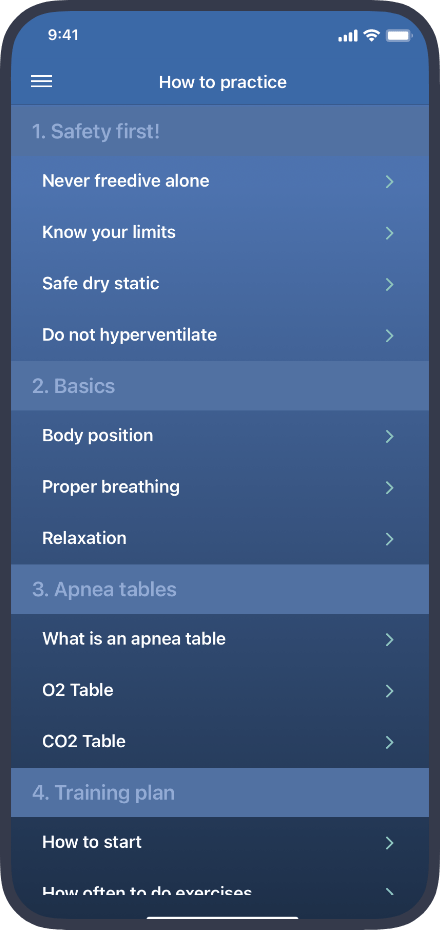
How to practice
We're working on a knowledge base and tutorial videos to help you with any app or apnea related questions. Meanwhile you can always refer to the in-app 'How to practice' section in the left menu. If you have already read it, but still have a question, please send us a message, we'll be happy to help you.
Vote or Request a feature
Looking for new features? Join our community, share your ideas, discuss how the app should look like, we want to hear from you!
Do you have a question regarding the training process? We do our best to build a knowledge base, create tutorials and write articles. Please check here.
Feedback and Feature requests
Looking for new features? Join our community, share your ideas, discuss how the app should look like, we want to hear from you!